Under Sink Reverse Osmosis in Palm Beach County
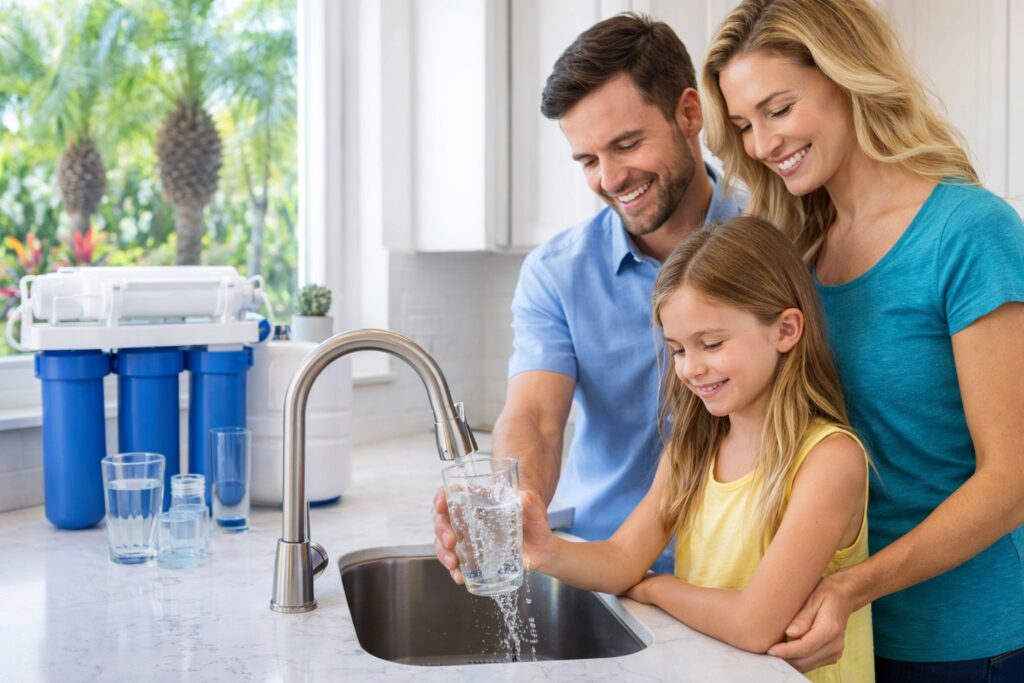
Benefits of Under Sink Reverse Osmosis in Palm Beach County
A residential filtration system helps eliminate unwanted contaminants from your tap water, ensuring your household has access to water that is cleaner, safer, and more dependable every day.
Water filters reduce substances that cause unpleasant smells or aftertastes. The result is crisp, clean-tasting water that makes drinking, cooking, and making beverages far more enjoyable.
Installing a filtration system can lower ongoing expenses by minimizing scale buildup and reducing strain on plumbing fixtures and appliances — helping to cut down on maintenance and repair costs over time.
By filtering out chlorine, bacteria, sediment, and heavy metals, a quality system contributes to healthier water for drinking, bathing, and cooking — supporting your family’s well-being.
Start protecting your home and your health. Contact us today to learn more about upgrading your water quality.
Why Choose an Under Sink Reverse Osmosis System
Clean, great-tasting water should be available right from your kitchen tap, without cluttering your counters or relying on heavy bottled jugs. An under-sink filtration system is designed to fit neatly inside your cabinet, using advanced membrane technology to remove common contaminants such as chlorine, sediment, heavy metals, and many dissolved solids. This compact solution delivers premium drinking water while keeping your kitchen looking tidy and organized.
By purifying water at a single, dedicated faucet, you gain control over the quality of what you drink and cook with every day. These systems are especially valuable for households concerned about tap water taste, odor, or potential impurities from aging plumbing or municipal treatment byproducts. Instead of masking issues with refrigerator filters or pitchers, you benefit from a thorough, multi-stage purification process that targets a broader spectrum of contaminants.
Convenience is another major advantage. Once installed, the system works quietly in the background, providing a steady supply of fresh water on demand. There are no bulky dispensers to maneuver and no frequent trips to buy bottled water. This not only saves time, but also reduces plastic waste, making it an eco-conscious choice for families who want to lower their environmental impact. The result is cleaner, better-tasting water for drinking, cooking, coffee, tea, and even baby formula, available directly from a dedicated faucet.
Key Features and Everyday Benefits
Modern units typically use a combination of sediment pre-filters, carbon filters, and a semi-permeable membrane to capture a wide range of particles and dissolved substances. Many systems also include a final polishing filter that enhances taste by reducing any remaining odors. This layered approach ensures that the water you pour into your glass, ice trays, or cooking pots is consistently clear and refreshing.
Another practical feature is the compact storage tank, which keeps a reserve of filtered water ready, so you do not have to wait for slow filtration every time you turn on the faucet. This is especially helpful during meal prep or when hosting guests, as you can fill pots, pitchers, and bottles quickly. Despite being tucked away under the sink, the system is designed for efficient performance and reliable water pressure at the dedicated tap.
Over time, having advanced filtration at your sink can also help protect household appliances that rely on clean water, such as coffee makers and electric kettles. By reducing scale-forming minerals and other impurities, you may experience fewer issues related to buildup. In addition, the improvement in taste often encourages family members to drink more water and less soda or sugary beverages, supporting healthier daily habits without requiring a dramatic lifestyle change.
Professional Installation and System Setup
Proper installation is essential for long-term performance and reliability. Our technicians begin with a quick assessment of your plumbing under the kitchen sink, ensuring there is enough space for the filtration unit, storage tank, and dedicated faucet. We then help you select the right configuration for your water usage, cabinet layout, and preferred faucet style, so the system blends smoothly with your current fixtures.
During setup, connections are made to your cold-water line and drain, and the storage tank is positioned to maximize cabinet space. The faucet is mounted on the sink deck or countertop in a convenient location for filling glasses, bottles, and cooking pots. Every connection is checked for leaks, and the system is flushed thoroughly to remove air and any initial carbon fines, ensuring clean, clear water from the first use.
Once installation is complete, we walk you through operating the system, pointing out the shut-off valves, filters, and tank. You will know how to turn the water off for maintenance, how the system refills after heavy use, and what to expect in terms of flow rate. This hands-on orientation gives you the confidence to use your new filtration solution effectively and to recognize normal operation versus something that may require service.
Maintenance, Filter Changes, and Long-Term Value
To keep your system performing at its best, routine maintenance is straightforward and predictable. Pre-filters and post-filters are typically replaced every 6 to 12 months, depending on your water quality and household usage. The main membrane usually lasts several years under normal conditions. Our team can set up a reminder schedule or maintenance plan so replacements happen on time, before declining performance affects taste or flow.
Filter changes are usually quick and clean, with cartridges designed for simple twist-off, twist-on replacement. Many homeowners handle basic maintenance themselves once they have seen it done a single time, but professional service is always available if you prefer. Regular upkeep prevents clogs, maintains strong water pressure at the faucet, and ensures ongoing reduction of dissolved solids and other contaminants.
Over the long term, investing in high-quality filtration often pays for itself by reducing reliance on bottled water, lowering plastic waste, and protecting the taste of beverages and meals prepared at home. You gain peace of mind knowing your household drinking water is being treated right where you use it most. With professional installation, dependable components, and consistent maintenance, your under-sink system can provide years of clean, refreshing water for you and your family.
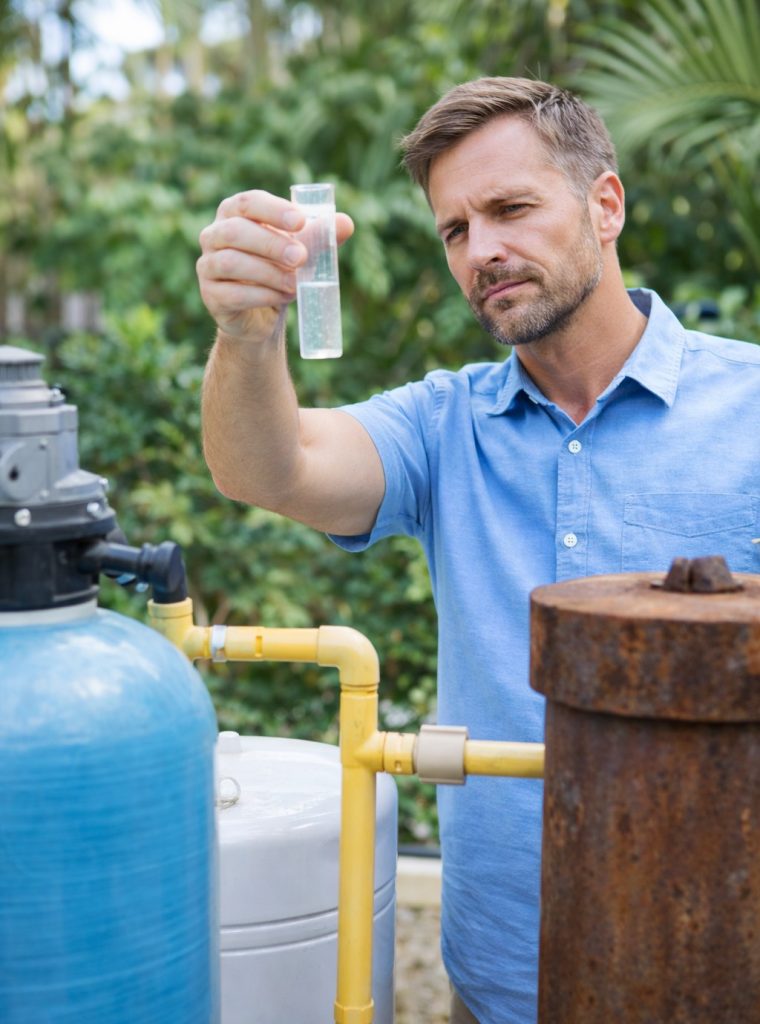
What You Get With an Under Sink RO System
- Cleaner Water Throughout Your Home
Enjoy safer, better-tasting water for drinking, cooking, and everyday use.
- Reliable Water Pressure and Flow
Modern filtration systems are designed to maintain strong, consistent water pressure without compromising performance.
- Reduced Chemical Exposure
Filters help minimize or eliminate additives like chlorine and chloramines from your household water supply.
- Greater Peace of Mind
Feel confident knowing your water is being treated at every faucet in your home.
- Healthier Skin and Hair
Filtered water can be gentler on your skin and hair, reducing dryness and irritation caused by harsh chemicals.
Under-Sink Reverse Osmosis Systems
For purified drinking water directly from the tap, compact reverse osmosis systems can be installed beneath your sink. These systems are capable of removing up to 98% of dissolved solids and contaminants, including many harmful chemicals and microorganisms.
Whole-Home Reverse Osmosis Solutions
Comprehensive reverse osmosis systems provide purified water throughout your entire home. These setups often include customized pre-treatment processes, such as water softening, to manage hard water and protect plumbing systems and appliances.
Advanced Filtration Options
Whole-home systems can also incorporate UV purification technology to neutralize bacteria, viruses, and other biological contaminants. Combined with additional protective features, these systems help ensure your water remains clean and safe long after treatment.
Is a Home Water Filtration System Worth It?
Untreated water may contain contaminants that affect both health and household systems. A professionally installed filtration system helps ensure the water you use for drinking, cooking, and bathing is clean and dependable — all while maintaining consistent water pressure.
Professional water testing and consultation services are available to determine the best filtration solution for your home’s specific water conditions.
Our Other Water Treatment Services
- Whole Home Water Filtration System
- Well Water Filtration
- City Water Filtration
- Commercial Water Treatment
- Reverse Osmosis Water Filtration
Service Areas
- Under-Sink Reverse Osmosis in Jupiter, FL
- Under-Sink Reverse Osmosis in Lake Worth, FL
- Under-Sink Reverse Osmosis in Loxahatchee, FL
- Under-Sink Reverse Osmosis in North Palm Beach, FL
- Under-Sink Reverse Osmosis in Parkland, FL
- Under-Sink Reverse Osmosis in Jensen Beach, FL
- Under-Sink Reverse Osmosis in Port St Lucie, FL
- Under-Sink Reverse Osmosis in Royal Palm Beach, FL
- Under-Sink Reverse Osmosis in Stuart, FL
- Under-Sink Reverse Osmosis in The Acreage, FL
- Under-Sink Reverse Osmosis in Wellington, FL
- Under-Sink Reverse Osmosis in West Lake, FL
Water Quality Resources
The Cleanest Drinking Water Straight From Your Tap
Your water touches everything — the way you drink, cook, bathe, clean, and live every day. If your water quality isn’t where it should be, neither is your home’s comfort.
Installing a professionally designed water filtration system is one of the smartest upgrades you can make. Cleaner water means better taste, healthier skin and hair, longer-lasting appliances, and greater peace of mind for your family.
Why Under Sink RO Is the Smart Choice for Palm Beach County Kitchens
- Enjoy fresher, better-tasting water from every tap
- Protect plumbing and appliances from scale buildup
- Reduce exposure to unwanted contaminants
- Improve overall home comfort
- Add long-term value to your property
Clean water isn’t a luxury. It’s essential.
Leave your details and take the first step toward healthier, better-quality water today.
Leave Your Details Below
Our Services
Water Filtration Services We Offer in Florida
We provide complete water treatment solutions for residential and light commercial properties across Florida. Every system is installed professionally and configured based on your specific water quality.
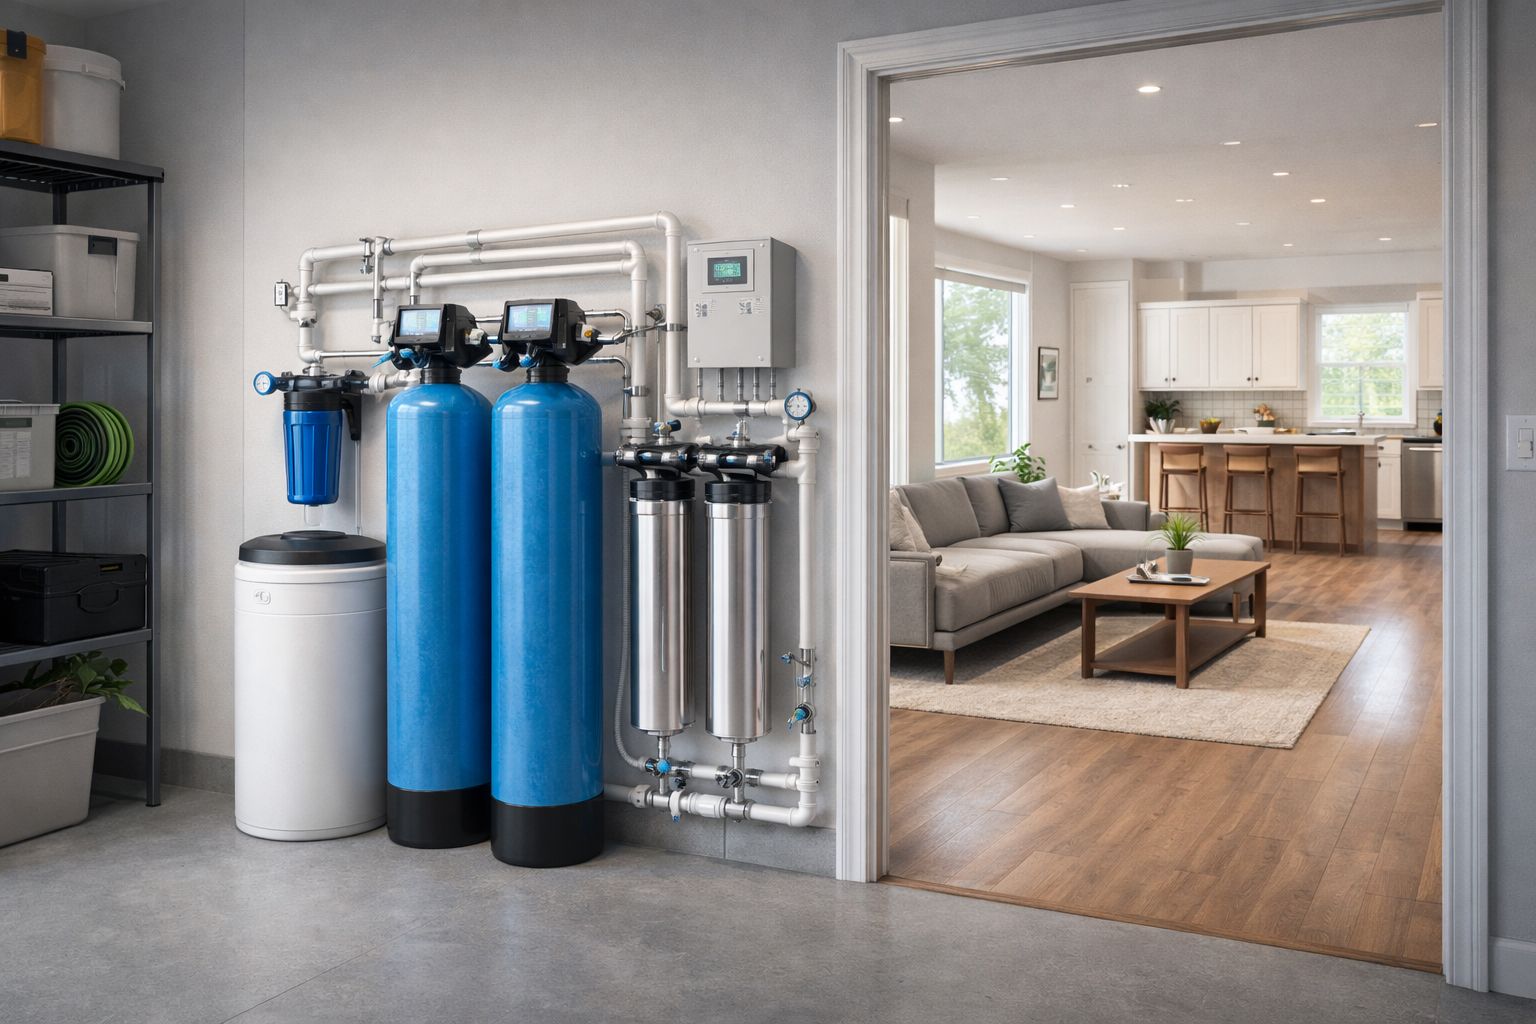
Whole Home Water Filtration System
A whole-home filtration system treats water at the point it enters your property. This means every shower, faucet, washing machine, and dishwasher receives filtered water. Ideal for municipal water users dealing with chlorine and sediment.
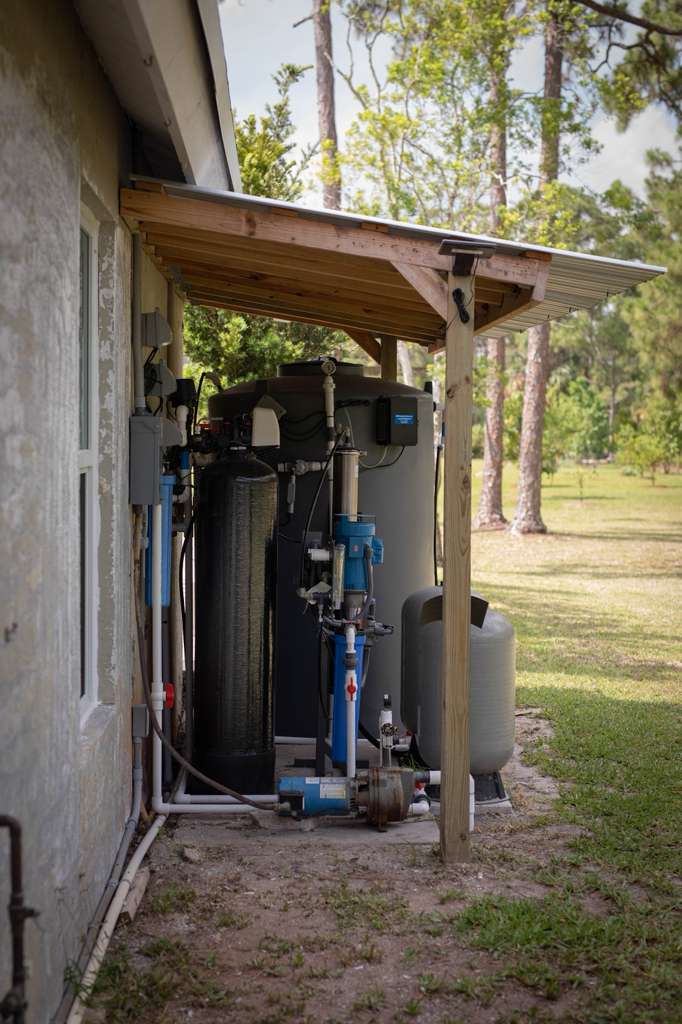
Reverse Osmosis Drinking Water Systems
For pure, clean drinking water straight from your kitchen sink. Reverse osmosis systems remove dissolved solids, heavy metals, and contaminants commonly found in Florida water.
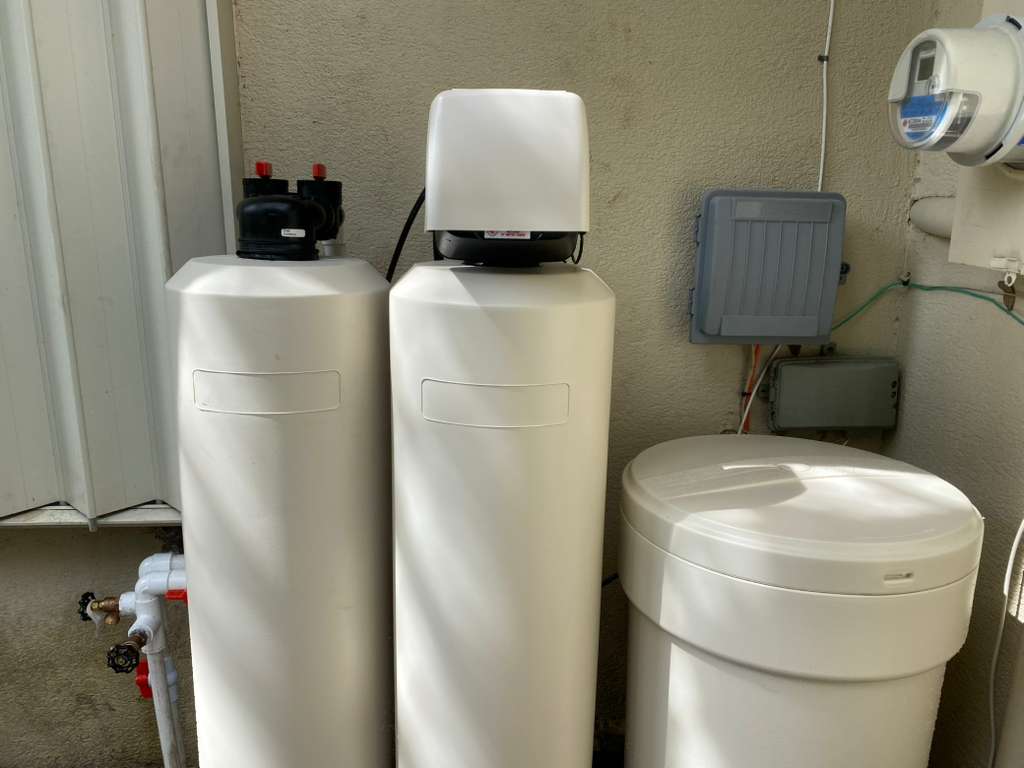
Water Softener Systems for Hard Florida Water
Hard water is common throughout Florida. A properly installed softener reduces scale buildup, improves soap efficiency, and protects water heaters and plumbing.
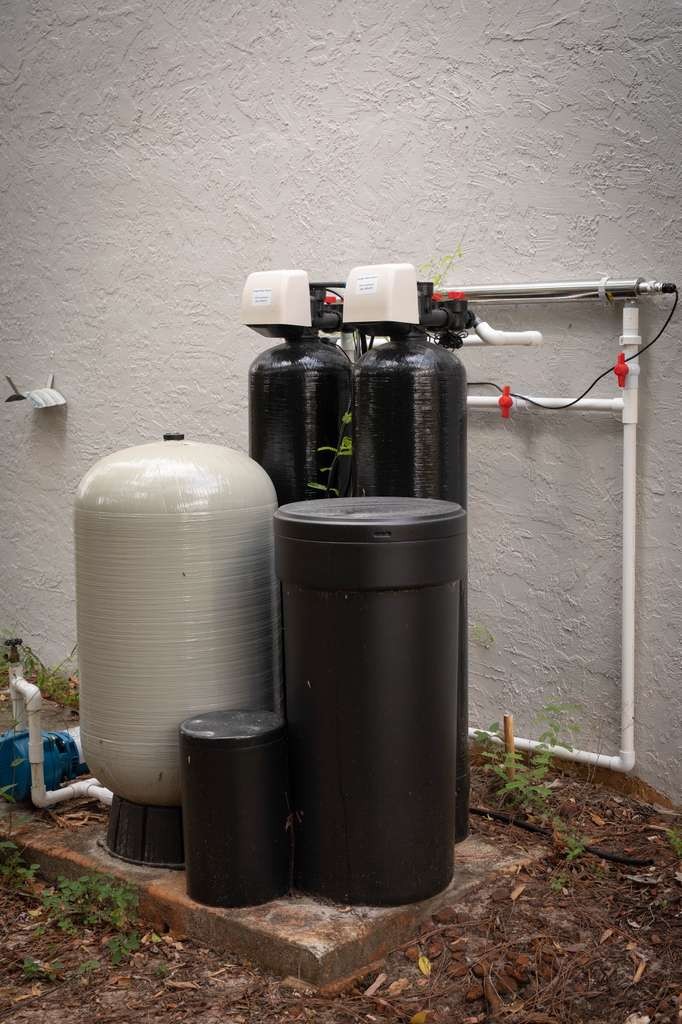
Well Water Filtration Systems
Private wells often contain iron, sulfur, manganese, and bacteria. We install multi-stage systems designed to eliminate odors, staining, and sediment.
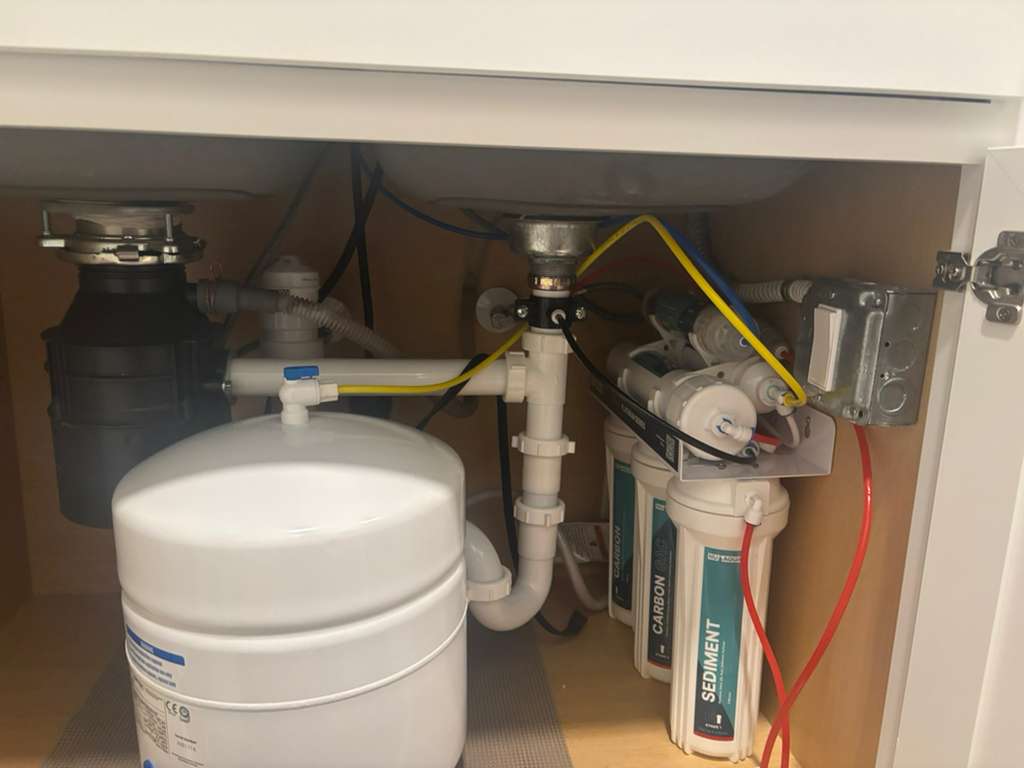
Water System Maintenance & Filter Replacement
Ongoing maintenance ensures your filtration system continues performing at peak efficiency.
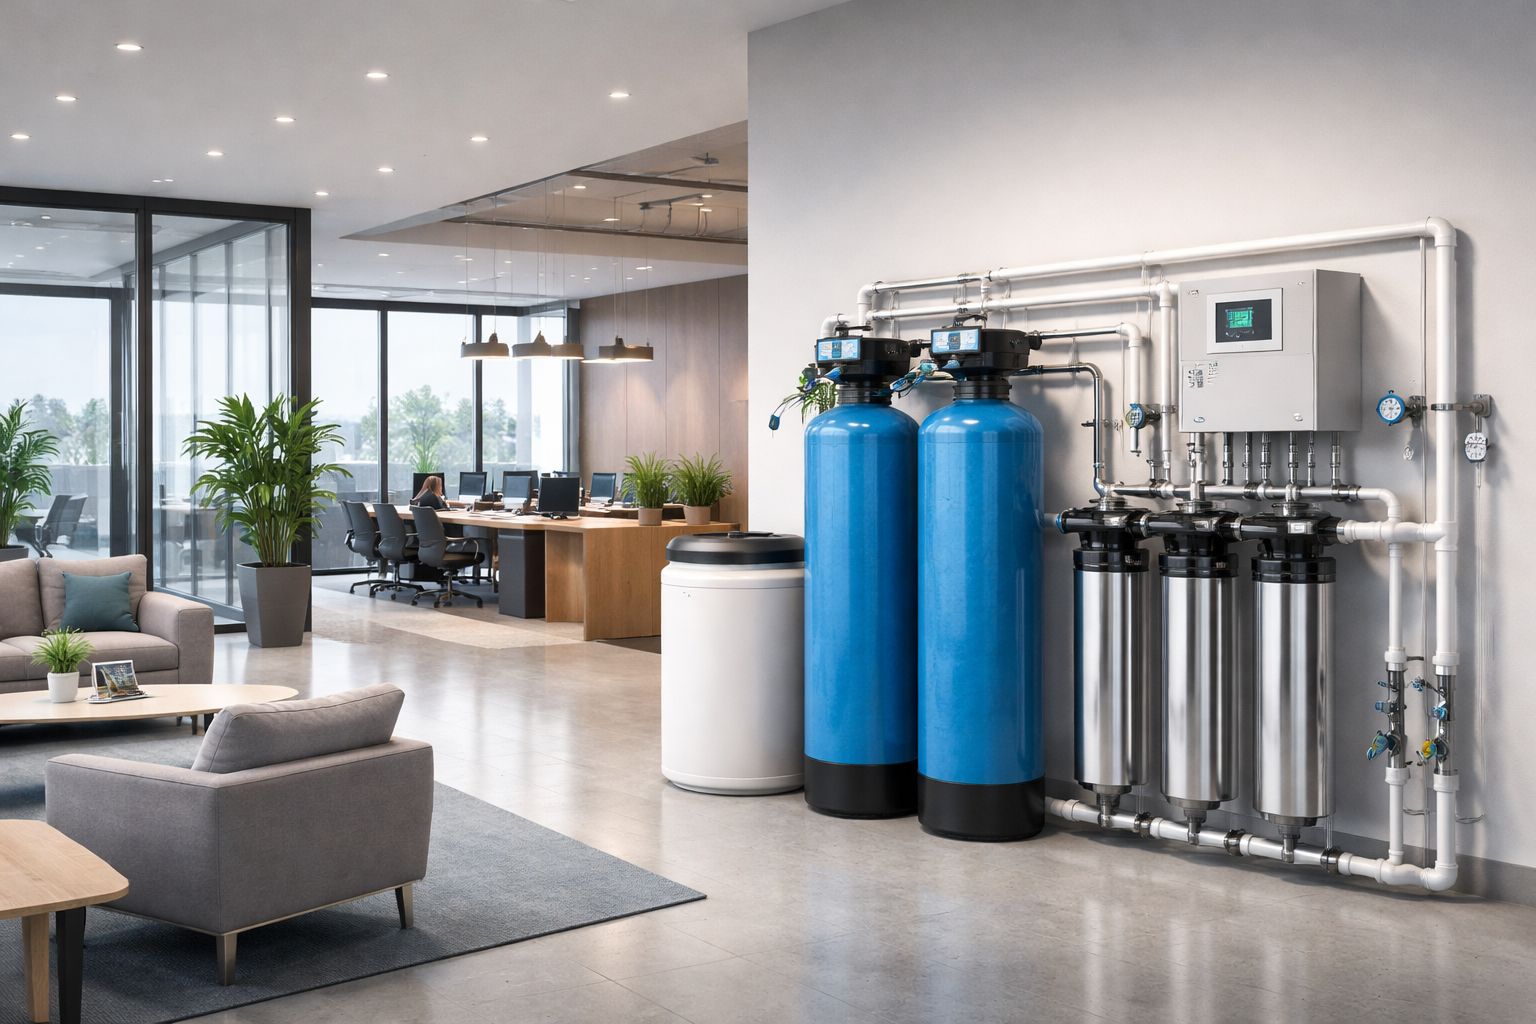
Commercial Water Filtration Systems
Protect your business operations with reliable water treatment systems tailored to restaurants, offices, and light industrial facilities.